
WE’VE MOVED!
Check out this post and other crafty inspiration over at our new blog!
Well {HELLO THERE} you amazing reader! Thanks for stopping by, hopefully we have a pretty amazing trick to show you today. A few weeks ago I was making some super cute mermaid themed party invitations that needed a special touch. After cutting the various pieces and looking at the design, I realized that including a 3D element would really add that extra pop… but of course I didn’t have any in my supplies! Or did I?… 
So just like all of my fellow crafters, I love adding special touches to my crafts. {BUT} sometimes the price factor makes you stop and think “Am I going overboard with my embellishments?” That’s the whole reason I purchased my Silhouette Cameo to begin with, so I can cut my own shapes and make my own embellishments for my crafts. Now 3D dots (or foam squares) aren’t going to break the bank… but from the words of a very wise man “A penny saved is a penny earned!”
So back to my beautiful mermaid themed invitations and the dilemma of the missing 3D dots. What was I going to do? As I am drumming my fingers on my kitchen countertop, I start to pick at some hot glue that had dripped from my glue gun (it’s not like I should use a mat or anything!) and it hit me… I could squeeze a little hot glue onto my seahorses and let it dry! And an idea was born!
So I assembled the layers of my seahorses and flopped them over to expose their backside. Two drops of glue later and {TADA}…

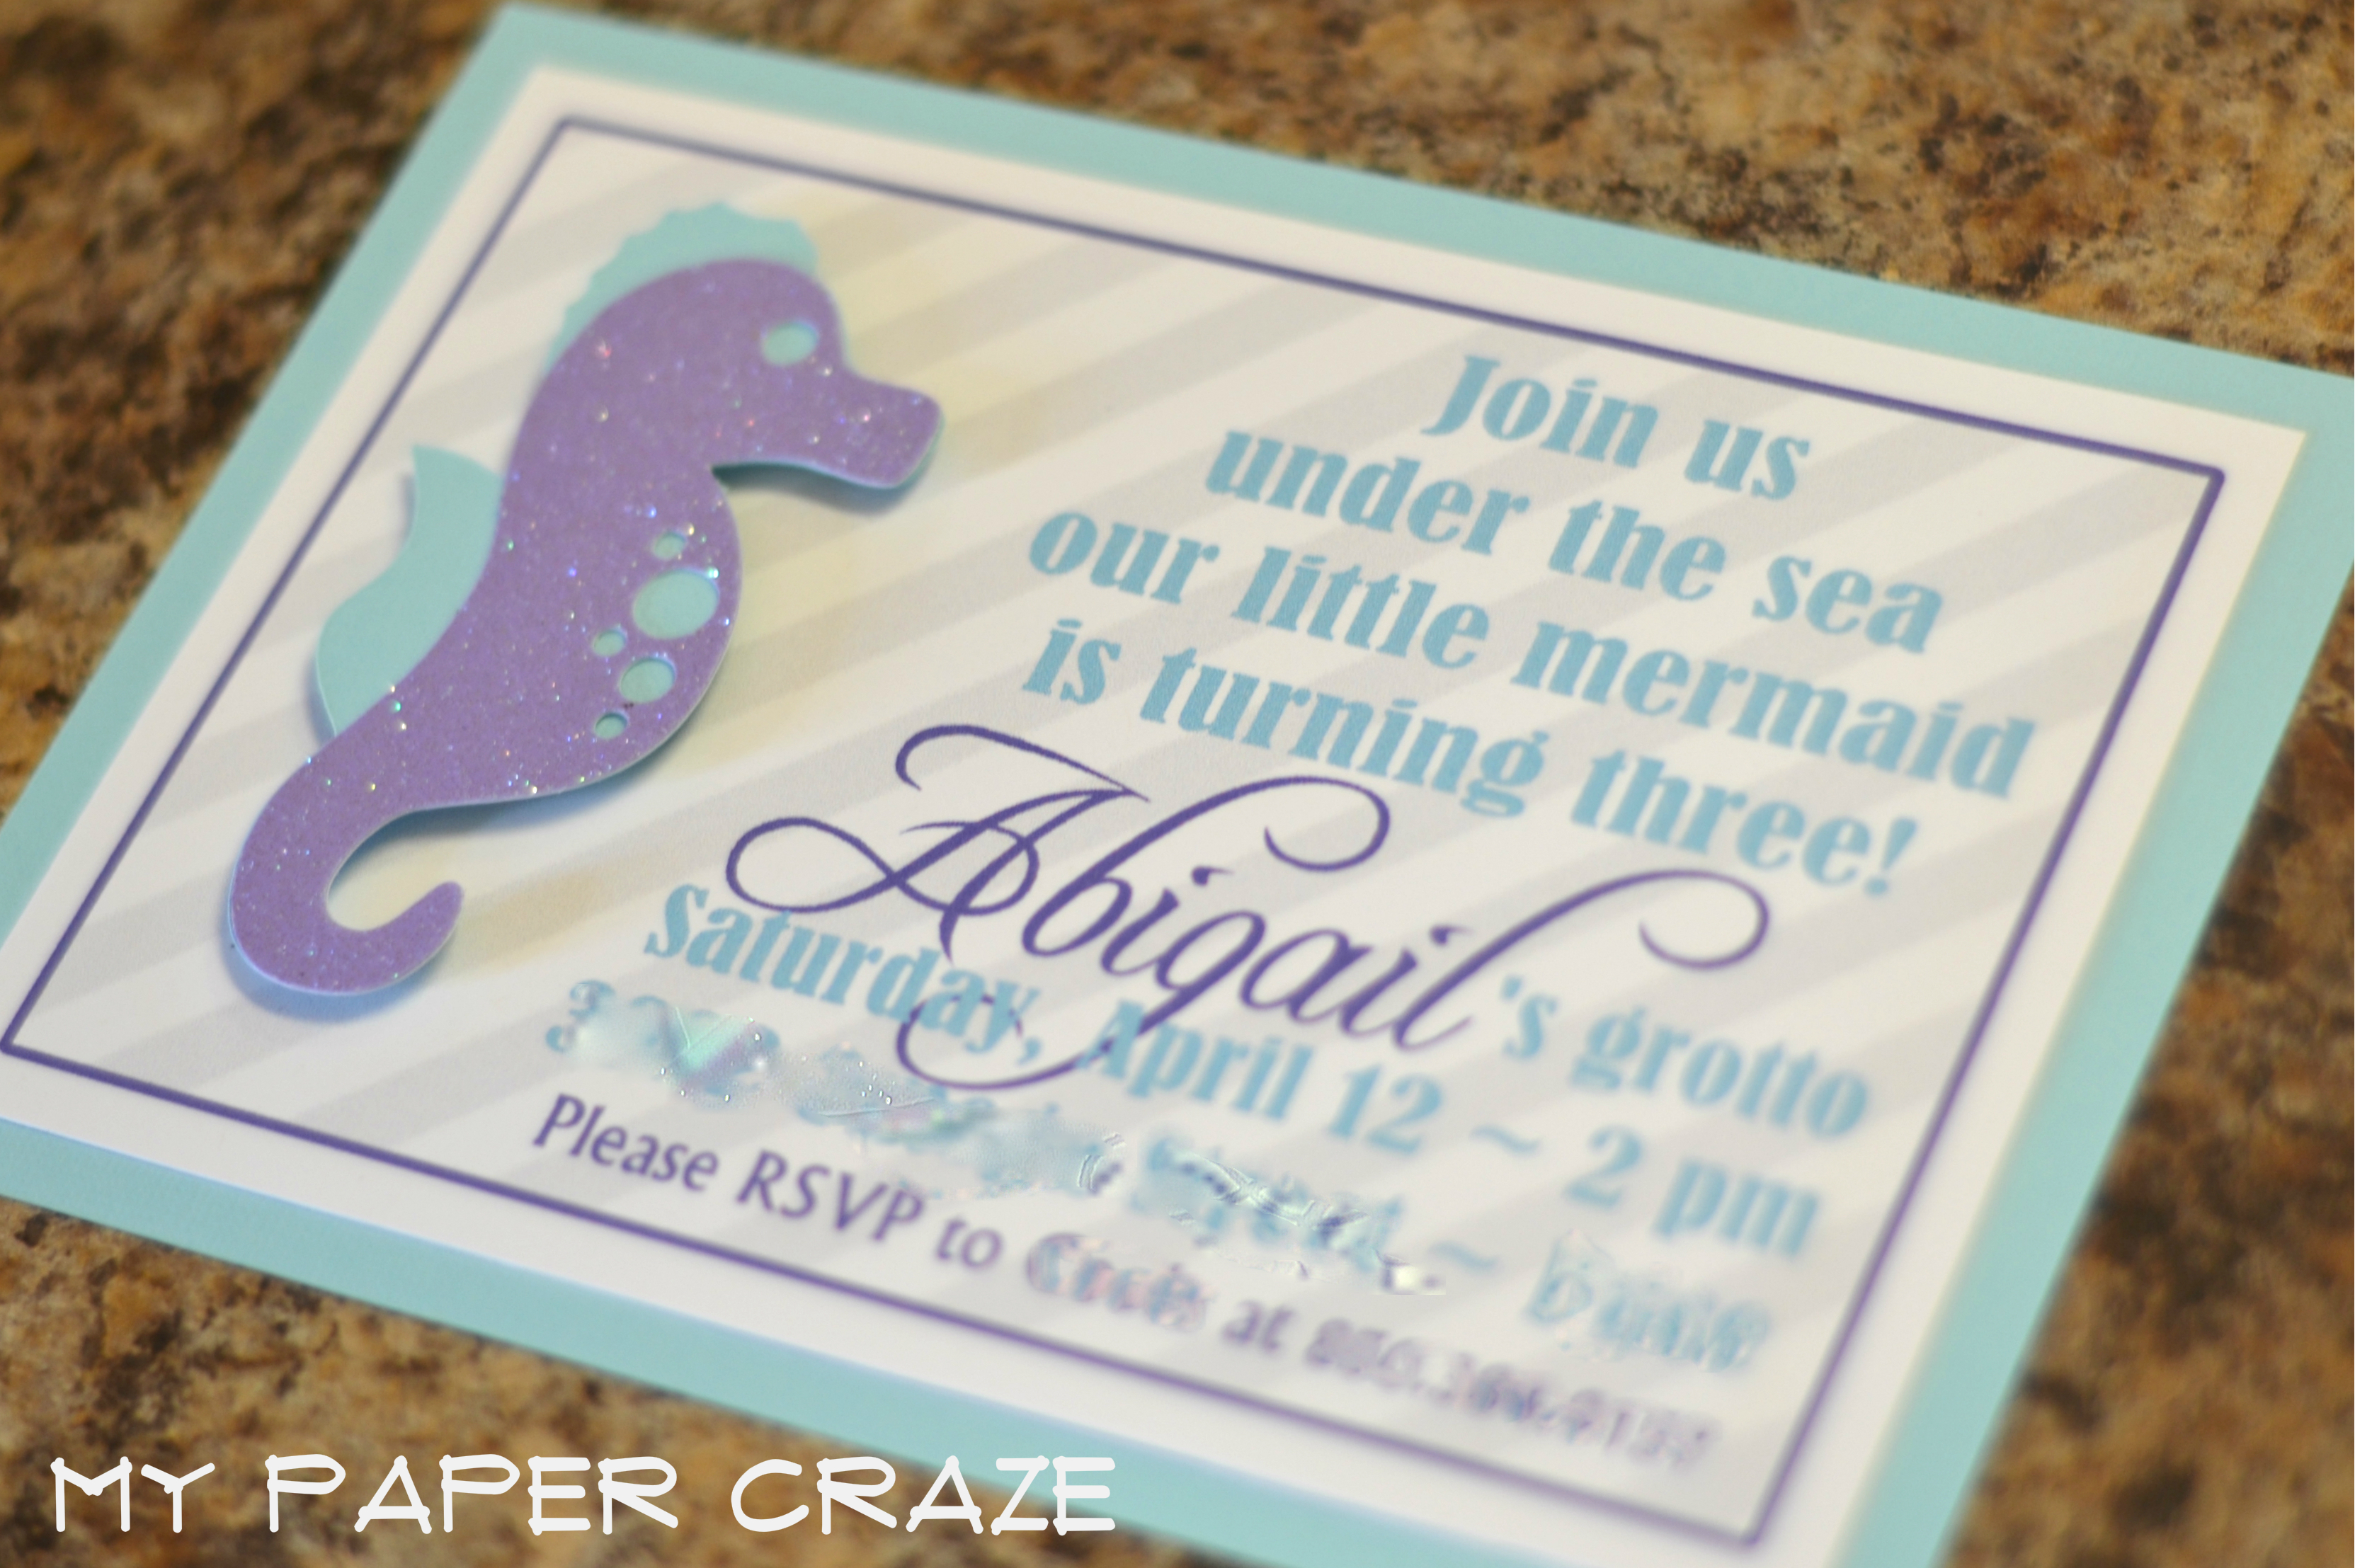
I know, it sounds too easy, right? Well, for once, it is! Just let them dry and you are good to go! I used high temp hot glue and created these even little bubbles that offered a little depth. I image you can also use low temp hot glue, it just might be a little more difficult to create even bubbles since the glue wouldn’t be as viscous. Once the hot glue was cool, I then applied another small dab of hot glue and adhered my seahorses to my invitations. How did they turn out? Take a look for yourself…

I was thrilled with how these turned out! Another great reason that I love my Silhouette! I was able to create the entire invitation using the Print & Cut feature! Interested in a tutorial with a free cut file? Leave a comment below and I’ll add it to the project list! We love your feedback, so keep it coming!
Share the love:

Tagged: birthday, Invitation, Mermaid, Print and Cut, scrapbooking, Seahorse, silhouette


Brilliant idea! I’ll have to dust off my hot glue gun – if i can find it! Love the invitations too – they look great!
Thanks, Pam! Sure appreciate you stopping by! I really enjoyed these invitations, so glad they turned out!
I love this idea and it saves a lot of money. Thanks for sharing.
Thanks Shirley! These crafting supplies can sure add up.
Great idea! Why buy 3D dots if you can make them so easily.
Thanks Erlene! We try to cut corners whenever we can.
I hate to be in the middle of my crafting groove and discover there’s one thing I really need to add that special touch. Love that you came up with a great {free} solution! I’m hopping over from Nearly Homemade’s Liebster Award posts. 😉
~ Ashley
Thanks, Ashley! We love Nearly Homemade, glad to see you do, too! Glad you enjoyed our little project!
Haha, I’ve done this before too when in a pinch 😉 visiting from Work it Wednesday!
Thanks for stopping by Cindy! These quick little tips sure do help out from time to time!
What a smart idea! I never even thought about that.
Thanks, Jennifer! It was a random epiphany! Glad you could stop by!
Awesome idea, so simple! Thanks for sharing, I could use this.
Thanks, Sarah! It was a random epiphany, so I hope it helps!
This is so smart and so much easier than the foam dots! Thanks so much for linking up at Thursday STYLE! Have a great week 🙂
great idea — and love “random epiphany”!
Thanks Susan, that’s usually where my best ideas come from, LOL!